Congratulations on entering your first triathlon! This blog is designed to guide you to the finish line without any specific time goals.

The first thing you’re probably thinking about is, “Where do I start with my training?”
Let’s break down and summarise this big question and give you insight on how to train for your first triathlon.
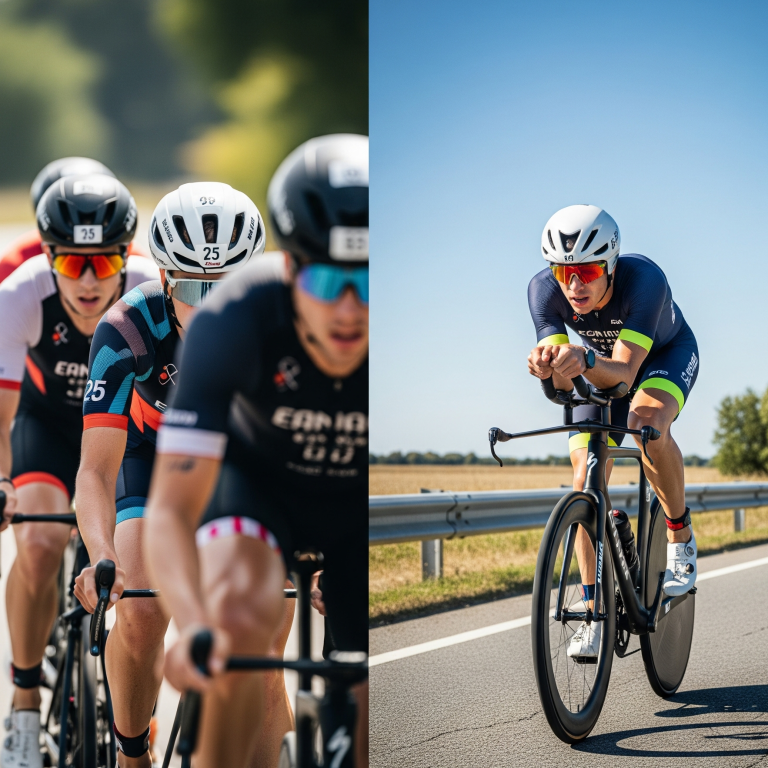
Equipment
The first thing you’ll need is the basic kit. Follow this link for a list of the absolute minimum gear you’ll need to both train for and complete your first triathlon:
Once you’ve got the essentials, it’s time to focus on training!
What are your strengths and weaknesses?
First, consider your existing abilities. Are you an ex-swimmer who feels a little wobbly on land? A pro cyclist who struggles in the water?
It’s important to know where your strengths and weaknesses lie. If you can’t swim or don’t know how to ride a bike, you’ll need to start at a lower level for those sports and perhaps dedicate more training time to improve your weaker areas.
Many people decide to do a triathlon before they can swim. I recently coached a retired man who entered an Ironman event but couldn’t swim 10 meters. After months of training, he’s now ready for the full-distance swim, but he had to sacrifice a lot of cycling and running time to get there.
On the other hand, if you’re a strong cyclist, your time might be better spent improving the other two disciplines to achieve the fastest overall time.
Planning your training
For a typical local triathlon, you’ll be swimming a maximum of 400m, cycling between 10 and 20km, and running between 2 and 4km. With this in mind, you can focus on building up to these distances. Below, I’ve outlined what you should aim to achieve by the end of each week, planning your sessions around your strengths and weaknesses. If you can already cover the distance in one discipline, you can spend less time on it, but don’t completely neglect it!

Week 1:
Train in each discipline over a distance or duration that feels comfortable for you. Keep your effort levels relatively low throughout the week. If you have time, add an extra session for your weakest discipline. By the end of the week, you should feel like you’ve accomplished a good amount of training without too much fatigue.
Week 2:
Build on the previous week.Aim to train a little longer during each session than last week. The sessions should challenge you because of the duration, not the intensity. Increase each session by 10-20% over the previous week, and add an extra session for your weakest discipline. If possible, try a session where you practice cycling immediately after swimming. You might feel a little unstable coming out of the water, so it’s useful to get used to this sensation before race day.
Week 3:
Build up to race distance.Practice cycling the race distance, then immediately run the race distance after getting off the bike. This can feel strange and heavy if you’re not used to it, but it’s mostly a perception issue—you’re likely running faster than you think! If you can do this comfortably, you’re ready for race day next week!
Week 4:
Race week.Gradually reduce your training duration. It’s a good idea to rest the day before the race. If you feel the need to exercise, keep it short and easy—just enough to warm up your muscles.

Planning the individual sessions
To plan your sessions as efficiently as possible, you need to know the course you’ll be racing on.
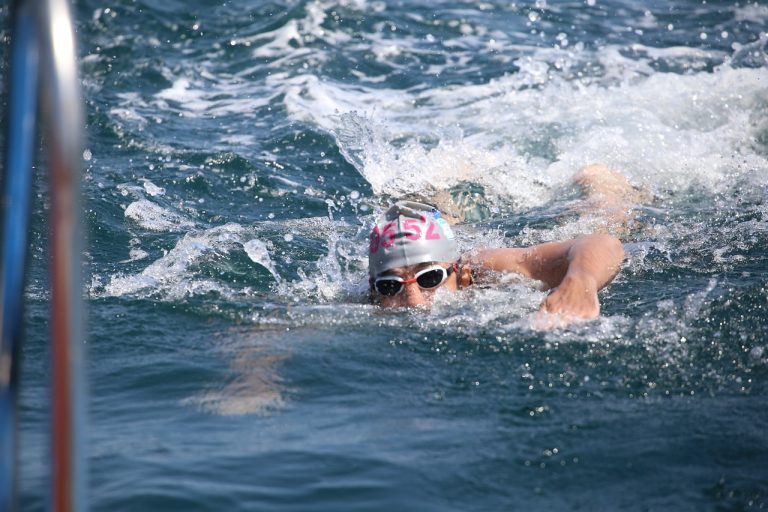
Is the swim in a pool? A lake? The sea?
Is the bike course hilly? Off-road? Draft-legal?
Is the run flat? On trails? Laps?
It’s best to train in conditions similar to the event. For example, swimming in a pool is very different from a mass-start lake swim. If you’re doing an open water swim, plan at least a few sessions in open water before the event. This will help you develop the additional skills you’ll need, like swimming in a group and sighting.
For the bike, tailor your training to the race course. If it’s technical with lots of corners, incorporate those into your training routes. If it’s hilly, include undulating routes in your rides. Climbing uphill requires slightly different muscles than riding on flat terrain.
If your event is draft-legal, find a local cycling group or some friends to ride with. Riding in a group is a skill in itself. Build confidence riding in front, behind, and beside others, taking corners, and braking. Riding fast around others can be intimidating if you’re not confident, so use your training to gradually build this skill.
Training for the run is similar to cycling. Practice hills and sharp turns. If your event includes off-road running, practice on grass and trails. When running on softer surfaces, rely on your effort levels rather than your pace.
Planning your transitions
This section is more relevant to race day, but it’s good to practice during training.
You’ll start the triathlon in your swim kit. Everything else you’ll need will be in the transition area, ready for you once you finish the swim. To decide where each piece of kit should be, think about what you need and in what order you’ll use it.
There are many variations, but here are a few golden rules:

- Have your drink on the bike, not on the ground.
- Set your bike in a gear that you can pedal away from a standstill (not too big!).
- Place your helmet, unbuckled, in an easily accessible spot.
- Keep your race number (tri belt or top layer) handy.
- Position your bike shoes near the front of your transition area.
- If you’re using different shoes for the run, place them slightly out of the way so they don’t hinder your first transition, but where you can easily grab them when you return from the bike.
Other helpful transition tips!
- If you’re in open water and wearing a wetsuit, you’ll need to remove it before getting on the bike (unless you love being REALLY HOT!). Practice removing your wetsuit quickly after your sessions to see what you can do safely.
- If the course takes more than an hour, consider having fuel ready on your bike or in your transition space for the bike or run. Energy gels are great for this, and many tri belts have loops for gels.
- If it’s cold or you want extra comfort, you might opt to put on socks, gloves, or an extra layer in transition. Practice putting these on when you’re cold and wet—it’s not easy!
- If it’s hot, consider placing extra fluid in transition that you can drink or pour over yourself to cool down.
- If you’re considering going without socks, try it before race day!
- Even after completing many triathlons, I still find that putting on my running shoes after the bike is the hardest part of the transition—there’s always something to practice!
I understand this is a lot of advice and may feel overwhelming, but don’t panic! You can get through your triathlon however you like. The best thing you can bring is a strong attitude and self-belief. Above all, remember to enjoy it!
If you have any questions or need advice, get in touch!
We also offer coaching and have ready-built training plans for athletes of all levels over various distances.
Check out our coaching and training plans section!